Key Takeaways
- Finishing compound seals drywall seams and prevents cracks from forming over time
- Thin, even coats bond better and last longer than a single thick application
- Sanding between coats directly affects how durable the final surface becomes
- Skipping or rushing the finishing process leads to costly repairs down the road
- Professional finishing adds measurable value to a property beyond just appearance
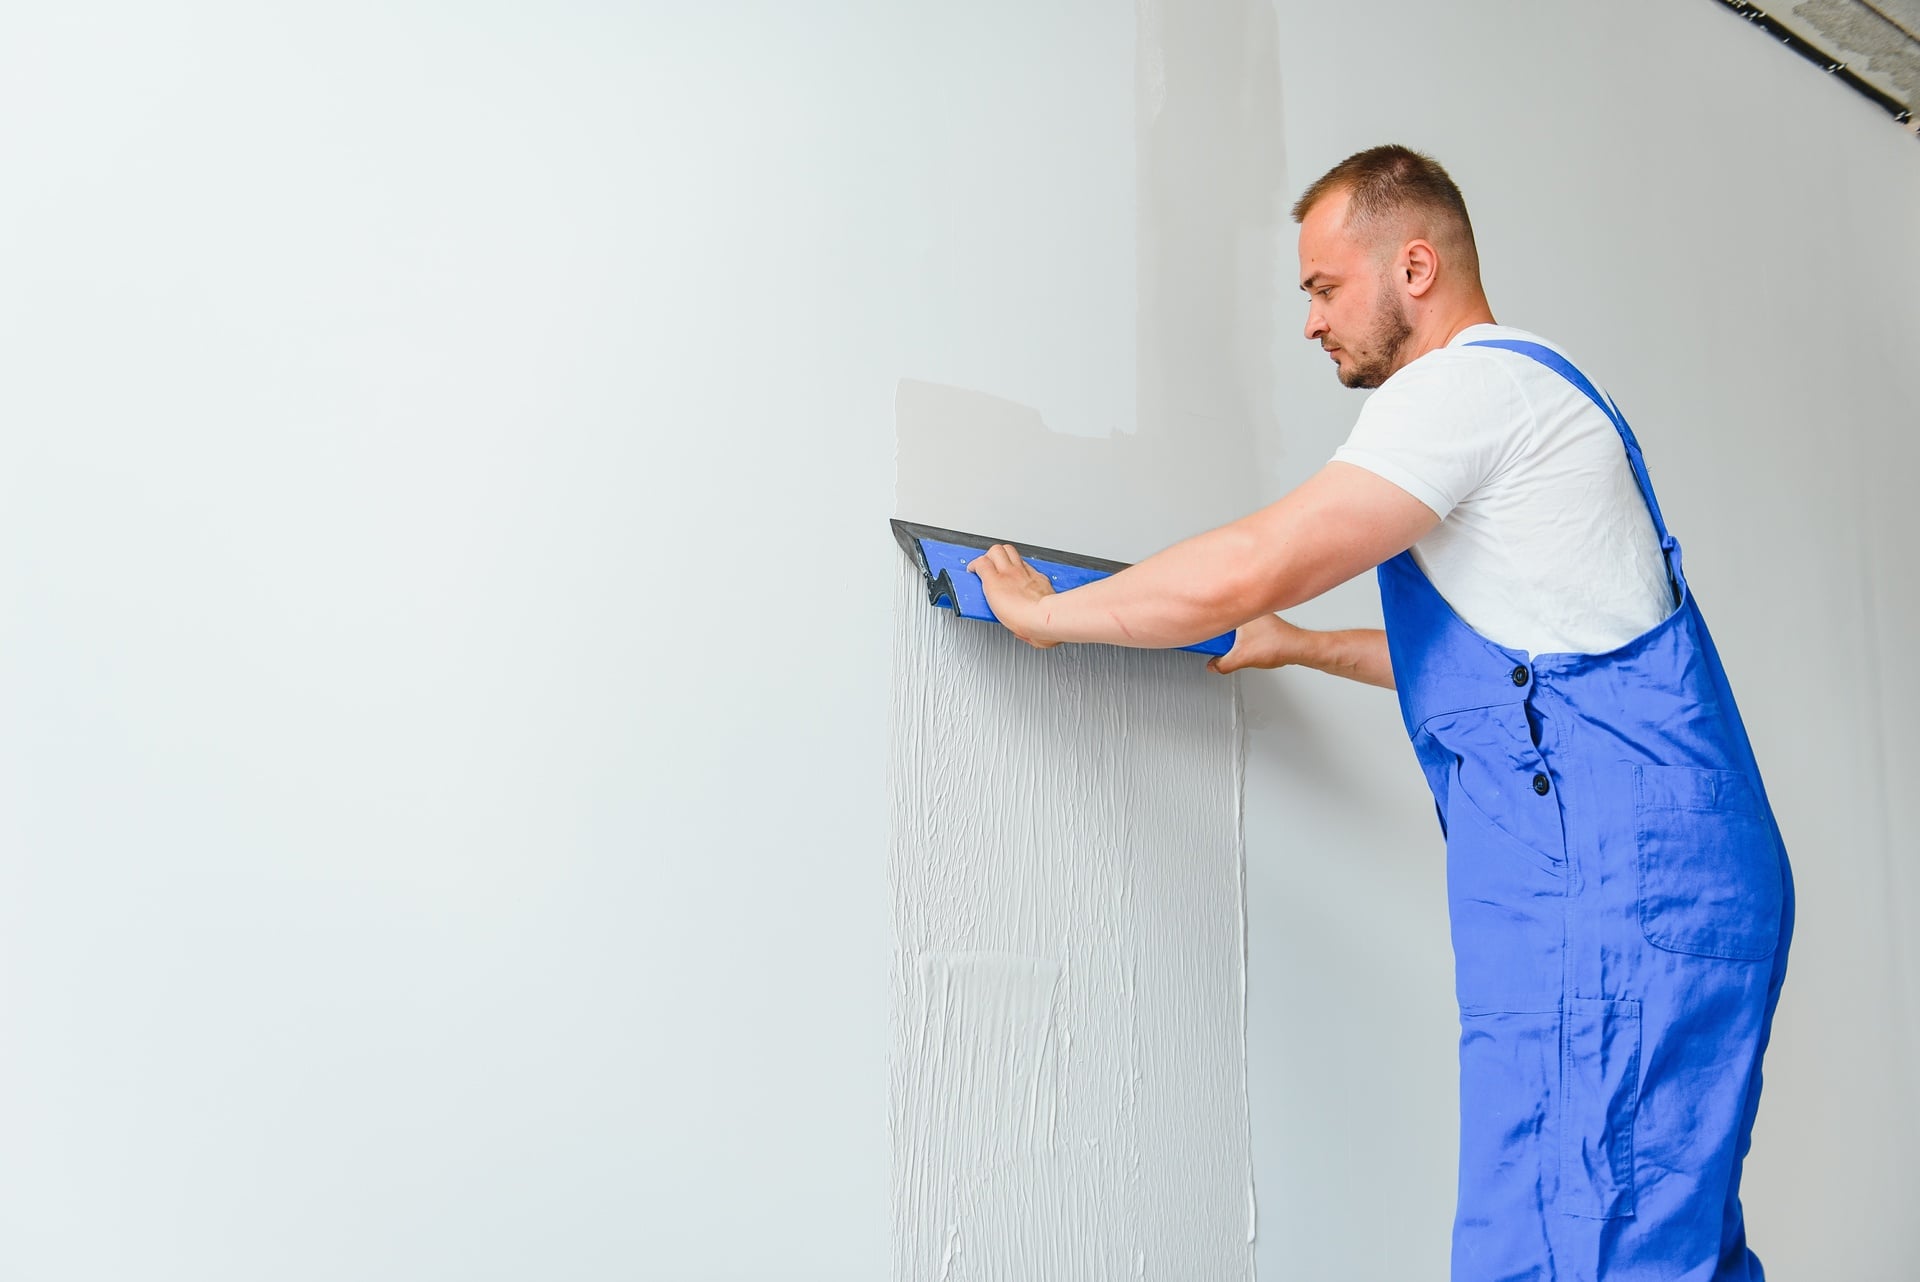
Finishing compound, often called joint compound or mud, is what bridges the gaps between drywall panels and creates a surface strong enough to paint, wallpaper, or texture. The way it gets applied directly affects both the look and the durability of your walls, and professionals who specialize in this work understand why getting it right the first time is important.
Without a proper finishing compound, every seam is a weak point waiting to crack, and walls finished without the right approach will show it sooner than most homeowners expect. What follows breaks down exactly why this step matters more than most people give it credit for.
What Finishing Compound Actually Does to Your Walls
Joint compound does more than make walls look smooth — it actively reinforces the most vulnerable parts of a drywall installation. Every seam where two panels meet is a potential crack waiting to form, especially as a building shifts slightly with seasonal temperature and humidity changes. Finishing compound fills those gaps, and when applied over tape, it creates a bonded layer that holds the surface together rather than letting it separate under pressure.
Beyond the seams, compound covers screw holes, minor dents, and imperfections left during installation, making the entire wall surface more uniform. Because of that added layer, a properly finished wall resists everyday bumps and surface damage far better than bare drywall ever could on its own.
The Part Most People Skip That Causes the Most Damage
Knowing what a finishing compound does is useful, but how it gets applied is where things either go right or fall apart. The most common reason finished walls crack or peel early isn’t the compound itself — it’s the technique behind the application. Thick, uneven coats trap air and dry inconsistently, leaving soft spots beneath the surface that eventually give way under normal conditions.
Building up the surface with thin, even layers — and letting each one dry fully before adding the next — produces a finish that bonds properly and holds up through years of use. That kind of patience is what separates a wall that lasts from one that needs patching within a year.
Common application mistakes that shorten wall life:
- Applying one thick coat instead of multiple thin layers
- Not allowing enough drying time between coats
- Skipping the sanding step between applications
- Using a low-quality compound that shrinks or cracks as it cures
Each of these shortcuts creates a wall that looks fine at first but develops visible problems within months, often requiring full sections to be redone from scratch.
It Starts With the Seams
Every drywall installation has seams, and those seams are the first place walls fail when finishing compound isn’t applied correctly. Temperature shifts and humidity cycles put constant low-level stress on those joints, and without a properly bonded compound layer holding them together, small gaps widen into visible cracks over time. Taping alone isn’t enough — the compound layered over that tape is what actually absorbs that stress and keeps the seam intact.
The Surface You Can’t See Is Doing the Most Work
What makes a finished wall durable isn’t what you see on the surface — it’s the layers built up underneath. Each coat of compound fills in micro-level gaps and imperfections that would otherwise collect moisture or expand under pressure. When those layers are applied evenly and allowed to cure fully, they form a surface that handles daily wear far better than a rushed or thinly applied finish ever could.
Durability and Appearance Are Connected
A wall that looks good and a wall that lasts aren’t separate outcomes — they come from the same process done well. Visible seam lines, uneven texture, and patchy paint absorption are all signs of a finish that wasn’t built up correctly, and those same flaws indicate a surface that’s more vulnerable to damage. When the finishing work is done right, the wall looks better precisely because it’s structurally sound underneath.
Why Taping, Mudding, and Sanding Work as a System
Finishing compound works best as part of a connected three-step process — taping, mudding, and sanding — where each stage builds directly on the one before it. Taping lays a reinforced base over every seam, giving the compound something solid to bond to beyond just the drywall surface. From there, mudding builds that base into a smooth, level coat that blends into the surrounding wall. Sanding then refines the dried compound, removing ridges or high spots that would telegraph through paint, no matter how many coats go on top.
Leaving out any one of these steps weakens the result in ways that show up later. Over-sanding cuts through compound and into the drywall paper beneath, creating soft spots that absorb paint unevenly and dent more easily under light pressure. Under-sanding, on the other hand, leaves lines and ridges that no amount of paint will hide once the wall is finished.
What a properly finished wall should achieve:
- Invisible seams with no visible lines under direct or raking light
- Corners and edges that are crisp, reinforced, and resistant to chipping
When all three steps are executed correctly, the result is a wall that both looks better and performs better over the long term.
How Compound Keeps Moisture and Cracks From Taking Over
One of the least talked-about functions of finishing compound is how it protects walls from moisture. Unfinished or poorly finished seams allow humidity to work into the wall over time, which leads to swelling, mold growth, and gradual structural weakening. A properly sealed seam keeps moisture out and preserves the integrity of everything behind it.
Temperature changes cause building materials to expand and contract in small but repeated cycles, and walls without a well-bonded finish show this movement through hairline cracks along the seams. A compound applied in thin, even layers handles this movement better than a single thick coat, which is more likely to crack as the structure shifts. That’s why technique extends the life of a finish far beyond what any product alone can deliver.
Catching these vulnerabilities during the finishing stage costs a fraction of what repairs run after damage has already set in.
The Real Difference Between a Finish That Lasts and One That Doesn’t
Material quality and application care are what separate a wall that holds up for decades from one that starts showing problems within a few years. Higher-quality joint compound bonds more reliably, shrinks less as it cures, and handles the minor impacts and vibrations walls take in everyday use. But even the best compound underperforms when the technique behind it is rushed or inconsistent.
Environmental conditions during application also play a bigger role than most people expect. A compound that dries too fast in hot or dry conditions can crack before it fully cures, while applications done in cold or damp environments may not bond to the surface properly at all. Controlling those conditions during and after the work gives the compound the best chance to cure evenly and reach its full strength.
What often gets overlooked is how much these factors compound over time. A wall finished under poor conditions or with inconsistent coats might look acceptable for the first year, but small weaknesses grow with every seasonal cycle, every shift in humidity, and every minor impact the surface takes. Getting it right from the start is the only reliable way to avoid that pattern.
Signs the Finishing Work on Your Walls Wasn’t Done Right
Poor finishing rarely announces itself immediately — it tends to show up gradually through symptoms that are easy to misread. Hairline cracks along seams are one of the earliest signs, and while some settling is normal in new construction, cracks that reappear after patching usually point to a bonding problem in the original finish. Uneven paint absorption, where some areas look flat, and others appear shinier even after multiple coats, often traces back to inconsistent compound layers beneath the surface.
Corners that chip easily, screw pops that push through the wall surface, and seams that become visible under certain lighting conditions are all signs that the finishing process was either rushed or done with inadequate materials. By the time these issues are visible, the fix usually involves more than a quick patch — it means addressing the underlying finish layer properly.
Recognizing these signs early makes a real difference in how much the repair ultimately costs, and understanding what caused them helps avoid repeating the same outcome on future work.
When Hiring a Professional Finisher Is Worth It
Some finishing jobs are manageable for a careful and experienced DIYer. Larger projects, complex repairs, or any work that needs to blend into existing walls, however, require a level of consistency that only comes from real experience. Uneven texture matching, visible seam lines, and cracking at patch edges are all common results when finishing is attempted without the skill to back it up.
A professional finisher also brings the right tools for the job — equipment that produces a level of uniformity that hand tools alone rarely achieve on larger surfaces. That upfront investment eliminates the cycle of repatching and repainting that tends to follow finishing work that wasn’t done correctly the first time.
The Bottom Line on Compound and Wall Durability
Drywall finishing compound isn’t a cosmetic step — it’s the layer that determines how long your walls actually last. Technique, material quality, and environmental conditions during application all feed into that outcome.
Whether you’re finishing new construction or repairing existing walls, finding the right finish contractor for the job makes the difference between walls that hold up and walls that keep needing attention.
Phoenix Advanced Materials
2600 East Southlake Boulevard
Ste120-384
Southlake
TX
76092
United States